
Published March 25, 2021. Last Updated 1 year ago
We have found the antidote to Zoom fatigue, screen time battles, and the lure of everything that plugs in. With kid-friendly backyard ideas on a budget, it is possible to transform any yard, patio, and even some balconies into areas of exploration.
The Benefits of Being Outside
A decade ago, Harvard Health Publishing sent out a press release that talked about the timeless benefits of being outside. Getting exercise is one of them. Most parents would agree that exercise is one thing kids are not nearly getting enough of.
Then there are our vitamin D levels. The body needs sunlight to hit its skin. Therefore, in moderation, outdoor play without sunscreen can be a good thing!
Another reason to put some time and effort into DIY backyard ideas that benefit the kids is happiness. The experts found that light plus physical activity equate relaxation and a cheerful attitude.
But what happens when the child in question is a Grade A, certified couch potato? Well, we have yet to meet a youngster who would say no to a customized, kid-friendly backyard.
Best of all, many DIY projects for the backyard do not bust the budget. In some cases, they might actually involve things that are gathering dust in the garage!
Here are some of our favorite ideas for making your own play equipment to give kids every reason to head to the backyard.
An Outdoor Chalkboard that is as Big as Their Imaginations
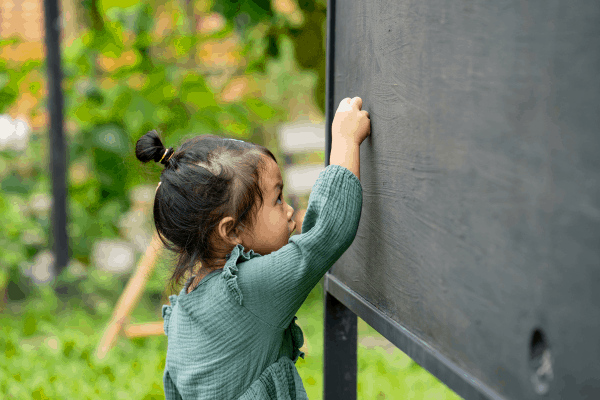
A backyard fence or wall is the perfect site for an outdoor chalkboard. No, we do not mean you need to go buy a chalkboard.
Rather, why not cover the surface with chalkboard paint? Once that is dry, the surface is ready for white and colorful chalk art. Take a pic, add it to the gallery inside, hose down the wall, and repeat.
If the fence is knobby or in use, the wall has a custom tint, or the balcony only has rails, it is still possible to have chalk fun. We recommend applying chalkboard paint to a spare bit of plywood, cardboard, or other sturdy material. Mounting it can be as simple as a couple of screws or Zip ties.
If your backyard has a paved area like a patio, you might not even need to do a chalkboard wall or fence. Just grab some outdoor chalk and let them draw on the patio as much as they want.
Of course, we would never tell any parent to shy away from going for the gusto. A great-looking board with a simple wood frame is a fantastic addition to the backyard. Best of all, it allows for the installation of chalk holders that keep the colors from getting lost in the grass.
Recommended Products
A DIY Splash Pad? Yes, Please!
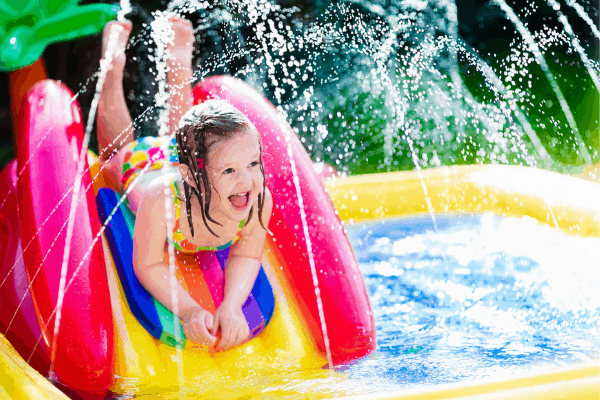
Sure, the SplashEZ 3-in-1 Splash Pad at about $30 is inexpensive. But for the crafty parent with a garage full of possible raw materials, it might not be an investment worth making.
There are a couple of different ways to make a simple DIY splash pad.
The first involves a tarp and hollow pool noodles. First, lay out the pool noodles to form a rectangle slightly smaller than the tarp (a 1/2 to 1 foot border should suffice). Then, thread a fishing line or rope through the pool noodles to hold them together. Tie it off in one corner.
Then lay the tarp over top of the pool noodles and use tent pegs to secure it to the ground.
Finally, turn on a sprinkler next to the splash pad or add a small slide with a hose on it for a DIY waterslide.
Alternatively, instead of using a tarp and pool noodles, you can just use a kiddie pool and a small slide. You may already have these at home. If not, you can grab one online, at the local toy store, or through a used online marketplace like Facebook Marketplace or Craigslist.
Recommended Products
Leftover Pool Noodles Make Great Backyard Toys!
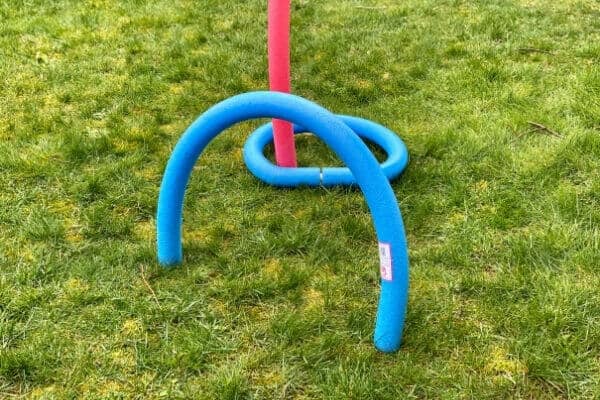
Because they are so inexpensive, the use of pool noodles goes past simple water play. (We like to cut them open to the hollow core and use them as deck rail covers to minimize bumps and bruises.) Aside from that, these foam noodles are fantastic for custom toy production on the fly.
For example, we love to use them for making an obstacle course. Bend the noodles; insert dowels halfway into one end, stick the remaining portion of the dowel into the soil, and you make the noodles stand up from the ground.
Halve and duct-tape some noodles together for loops that double as football toss goals. Working with a dowel to connect both ends of a noodle keeps us from having to cut it. Doing both lets us create differently sized goal holes.
Bend other noodles in half to create a tunnel that children shimmy through. Once again, the dowels are invaluable for making the noodles stay in place in the ground.
When the obstacle course is finished, take some of the dowels and stick them in the ground. Use another dowel to turn a single noodle into a circle and see if you can toss the noodle onto the dowel in the ground for a DIY game of horseshoes.
Recommended Products
Another Great DIY Backyard Project: a Sandbox!
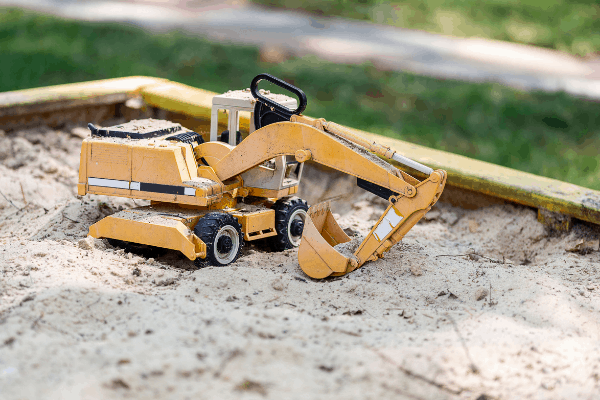
We love this idea because it is a fantastic example of up-cycling and re-using something that is frequently available for free in the neighborhood: a used bookshelf.
Because they could still be useful for someone else, we see them in front of neighbors’ houses all the time with the coveted “free” sign. Pick one up, clean it, take out any horizontal shelves except one, and add a few beads of caulking to make the structure somewhat sand tight.
Next, lay it down with the sides facing up. Transform it with bright, pretty colors or keep it looking the way it is. Builder sand from the local big box home improvement store goes in the big compartment while the sand toys go in the little one. Voila!
A DIY sandbox that is great for a balcony, patio, or backyard! (By the way, sandboxes are great for honing motor skills by adding sand toys and rocks in different sizes and shapes.)
To ensure your sandbox lasts as long as possible, keep it in a covered area or make sure you cover it with a tarp when not in use to protect it from the elements.
Recommended Products
Recommended Products


Encourage Outdoor Play with a Tightrope
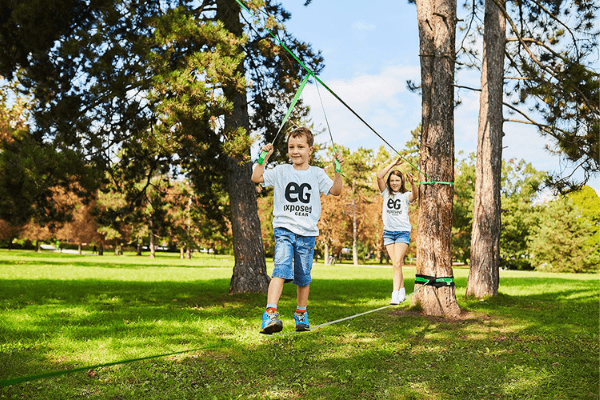
They call tightrope-walking funambulism. Science Magazine calls it, “more likely tied to evolutionary fitness.”
We like it because it helps children develop a good sense of balance and core strength. Besides, when there are two trees in the yard, it is all but an invitation to string a backyard tightrope across.
It is possible to just buy some sturdy rope. However, in this setting, we do recommend investing a little money in a slackline kit that comes with a training line. (Trust us, the training line is key!) And, as is always the case with anything involving ropes, adult supervision is a must.
And if your kids are into that kind of thing, why not add some more Ninja Warrior equipment to your backyard to make it truly exciting for them? You can definitely DIY many obstacle course components, but unless your construction skills are top notch, you might want to get a few professional pieces for the trickier stunts that involve climbing and hanging.
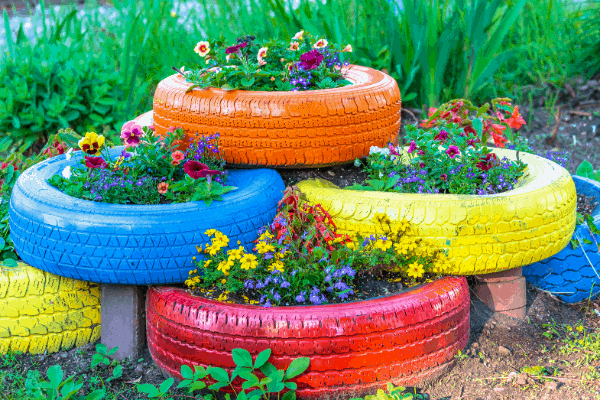
Is That a Tire? Bring it Home!
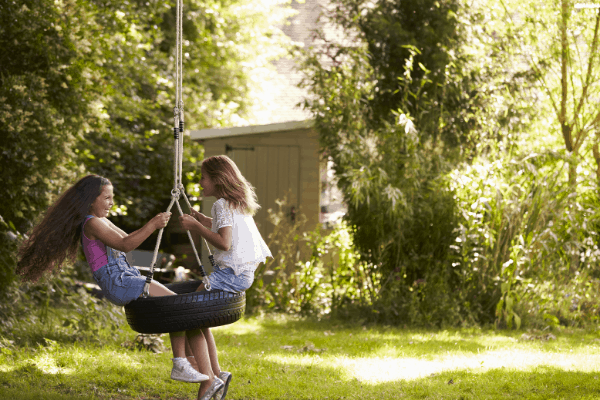
Tires are to backyards what duct tape is to cars. Well, maybe not; but we like the idea. Of all the kid-friendly backyard ideas on a budget, an old tire is a fantastic item that is so easy to repurpose into different types of toys.
- Sandbox: If it is big, it is perfect for painting with fun colors. Then, it is easy to put the big circle anywhere we want to place sand. Fill it up with builder sand, and the box is complete!
- Swing: Most parents love ideas that remind them of their own outdoor fun back in the day. A swing is a great way of repurposing a tire. Place it horizontally on the ground, drill three holes, feed three strands of strong rope through the openings, and connect them to a single-strand rope that hangs from a tree. Another option is to take the tire and simply stand it up vertically, tie a secure knot with a rope around one spot, and hoist it up.
- Seesaw: Of course, our hands-down favorite idea is the seesaw. Jamie Dorobek has done a fantastic tutorial for transforming a regular rubber wheel into a toddler seesaw with little more than a reciprocating saw, a 2” by 3” wood plank, and screws. Add optional handles for a secure grip.
- Garden bed: Why not let each kid have their own little garden bed with a tire as a retaining wall? They can plant their own seeds and flowers here to see what grows. You can also use this as an extension activity to teach them about attracting birds and other pollinators to the garden.
All Ages of Kids Love a Custom-Built Climbing Wall
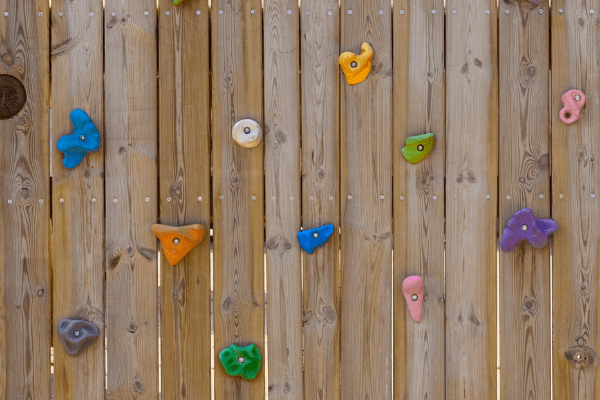
Don’t you wish you had one of these growing up? A custom-built climbing wall is the ultimate kid-friendly backyard idea! They’re easy and affordable to install, they’re excellent for developing motor skills, and they stand a chance at tiring the kids out.
Because safety is an issue, we recommend buying climbing holds rather than trying to manufacture something that is homemade. Atomik makes screw-on holds that range in size from super small to XXXL. Some even have novelty shapes such as hearts, letters, or dinosaurs!
This is a project that anyone unafraid of drilling holes into the side of a house or garage can accomplish. (Attaching the steps to a side of a tree or clubhouse is another fun option).
The trick is to build an exterior frame that screws into the building’s studs. With this accomplished, simply close the frame with sturdy wood panels. With this setup finished, it is easy follow the instructions the climbing hold manufacturer gives.
Naturally, there is a difference between the climbing wall that works well for a toddler and the one that is suitable for a teen. We recommend changing things up when the wall gets too easy for the child. In this way, this is one play area that grows with the youngsters as they get older.
Recommended Products
Add a Picnic Table That Turns into a Play Area
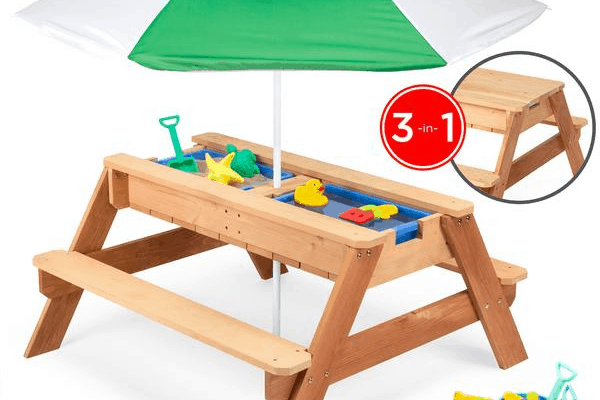
Sometimes we cannot help but spend a little money. However, we prefer doing so when the item we buy doubles or triples as other items, too. A good example is the 3-in-1 convertible wood, sand, water, and picnic table with umbrella. Seating up to four youngsters at a time, it is suitable for children between the ages of three and seven.
There are water tubs, sand boxes, and covers that double as surfaces. Serve a nice lunch, and then open up the table for some fun! For little ones, this is a great way to hone small and large motor skills. This is also an excellent addition to a patio or balcony.
(As of March 14, 2021, this table is 45% off, so this is a perfect time to grab one!)
The Kid-Friendly Backyard Needs a Teepee
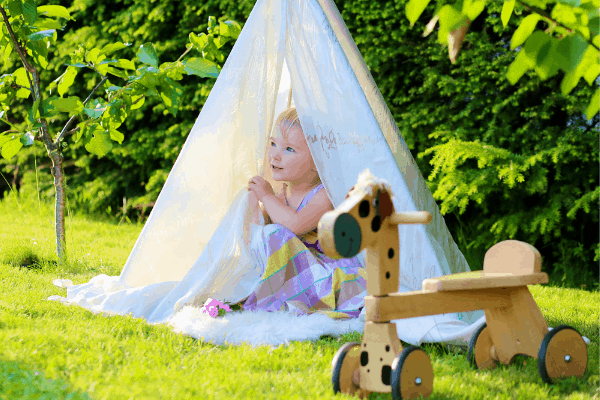
This is one DIY backyard play place that is as much fun putting it together as it is using it. The teepee is basically a three-sided tent that is held up by sturdy branches. Of course, we could just as easily do a lean-to with the help of the backyard fence.
To start, we like to take a trip with the child to where we know they can find some sticks and branches. A nearby forest, the park, or anywhere else that sticks are to be found is a great place. If we cannot find branches for the project, we make use of the broomstick and mop handle. The rest is made from twigs.
Tie the long branches together with string at the top to create the three-legged frame. Attach strings around the structure so it is easy to get the twigs and sticks to stay in place. Next, donate an old bed sheet or table cloth to cover the sides. The teepee is ready for occupancy and hours of imaginative play!
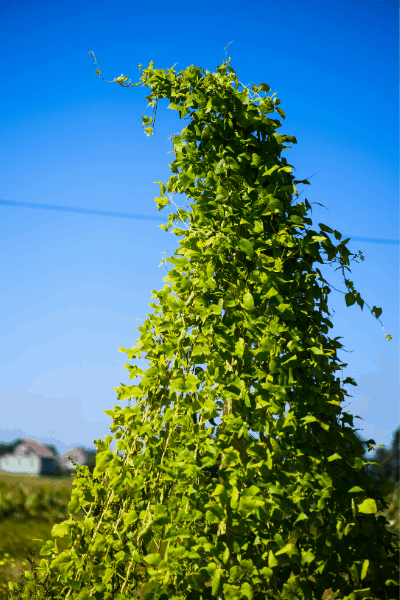
As a fun alternative, you can make a living teepee out of sticks and bean vines. Insert four or five long bamboo sticks or branches into the ground in a circle and bind them together at the top with rope or twine. Plant bean seeds at the bottom of each pole and use twine to encourage the vines to go cover the poles as they grow. Here’s a complete tutorial on constructing a bean teepee.
With so many kid-friendly backyard ideas on a budget, your kids are sure to have an excellent time exploring in their backyard this summer. Best of all, it doesn’t matter if the play space is a sprawling acreage behind the house or a small backyard the size of a postage stamp.
Join us as we color, drill, and collect items for some awesome outdoor time with the youngsters!
Leave a comment below and let me know which DIY backyard idea you’re going to try first and don’t forget to save this post to Facebook or Pinterest so you can find it later.

Sophie Agbonkhese is a writer, homeschooling mother of four, and a recovering overachiever (who occasionally relapses). She is the founder of My Cup Runs Over, a site dedicated to helping busy women simplify and enrich their lives. When she’s not writing or debugging websites, Sophie spends her time reading, dancing, bullet journaling, reading, gardening, listening to audiobooks, and striving fruitlessly to have a clean house for at least five minutes.