How much space do you need to homeschool and do you have enough? Check out these savvy homeschool room ideas for small spaces and see how you can make homeschooling work with whatever space you’ve got.
Homeschooling Without a School Room
When we started homeschooling almost a decade ago, our family of four lived in a two-bedroom apartment that was about 800 square feet.
The bookshelf took up the living room.
The art and craft supplies consumed the pantry.
Instead of art in our dining room, we had a whiteboard.
It was cramped, but we made it work.
If you were to believe everything you saw on Pinterest and Instagram, you might think that most homeschoolers have a designated homeschool room, a classroom-like setup in their home that they use just for their lessons.
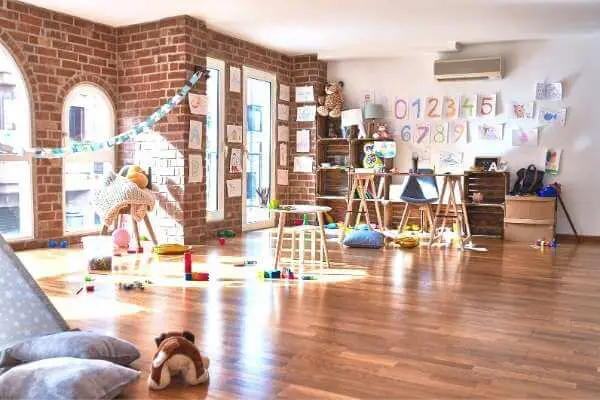
Actually, I think those who have this luxury are in the minority.
Though we’ve moved three times since that tiny apartment, we’ve still yet to have a room that’s just for homeschooling, and I doubt we ever will. We tend to sprawl and roam throughout the day and a homeschool room would probably just go to waste around here.
When I think of all the homeschoolers we know–and we know quite a few–I can only think of one family that has a homeschool classroom. Everyone else makes it work in kitchens, living rooms, dining rooms, bedrooms, closets, backyards, minivans, and libraries.
So that’s going to be our focus in this article. If you are fortunate enough to have a designated homeschool room, please take a moment to do a happy dance! These ideas will still benefit you as you work to set up your learning space in an efficient way.
But if you find yourself in a small house or apartment and can’t figure out how you’re going to set aside a corner, let alone a whole room, this post is for you! Let’s dig in to all the tricks you can use to make homeschooling work in your small space.
Storage Ideas for Your Whole House: Get Organized with these Quick Tips
Must-haves for Your Homeschool Room
So, for the rest of this article, I’m going to use the term ‘homeschool room’ to refer to the space where most of your homeschooling activities occur. For us, that’s our open concept living/dining/kitchen area.
Your homeschool room might not be a room solely designated for homeschooling, but it’s the area where you mostly homeschool.
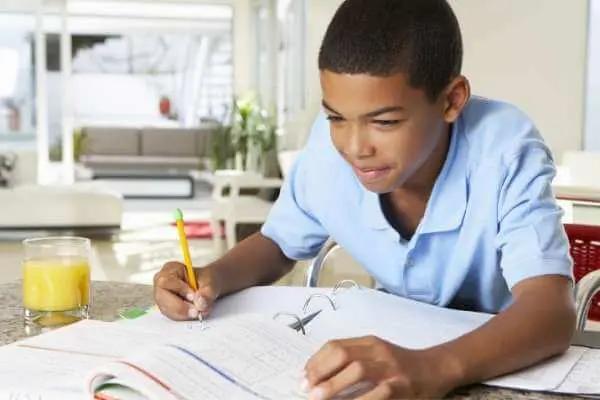
First, let’s figure out what the must-haves are for your homeschool room.
Think about the activities you’re most likely going to do there. These might include:
- Reading, both together and independently
- Writing
- Instructional teaching time
- Math, whether that’s stacking blocks for a preschooler or studying algebra for a middle schooler
- Arts and crafts
- Hands-on activities
- Music practice
- Science experiments
- Cooking and baking
- Watching videos or DVDs
- Listening to music
- Playing
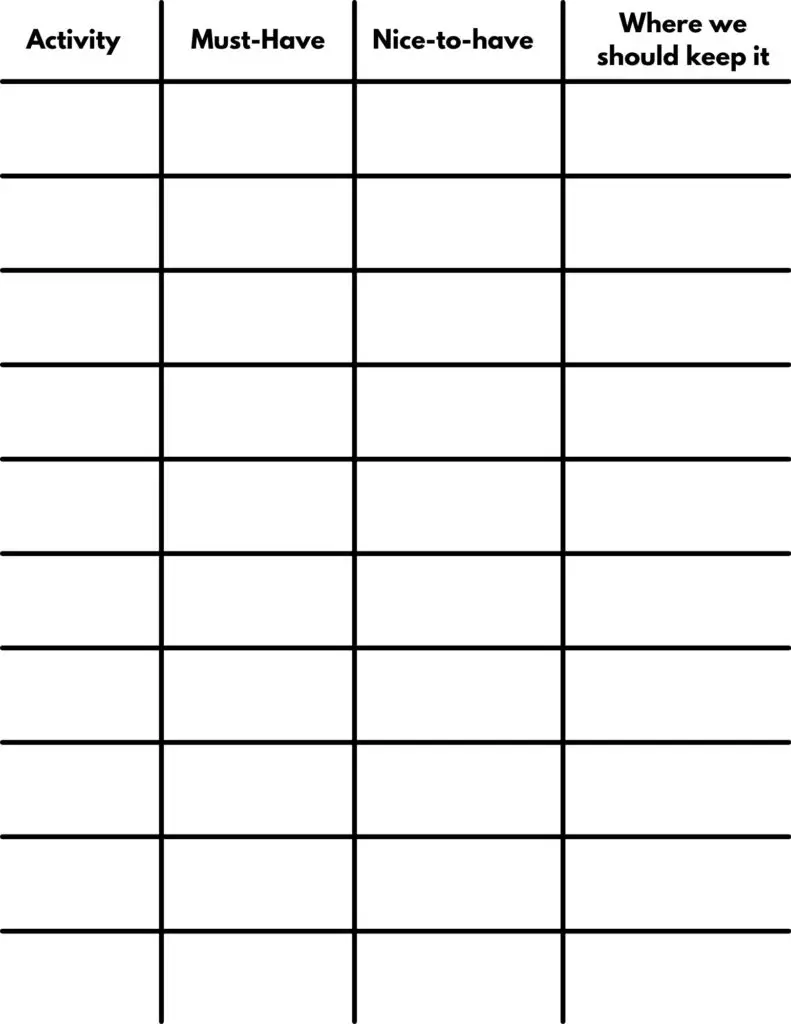
So, as you set up your homeschool room, make a list of what you will need to support each of these activities. You might want to divide your list into must-haves and nice-to-haves. For example, somewhere to store books is probably a must have. A mini teepee to sit in and read those books is likely just a nice-to-have.
Use the template below to make your own homeschool room must-have list. (Click the image to open a printable PDF).
Here’s my list:
Reading
Must haves:
- A couch for us to sit on together
- A bookshelf big enough to hold our current selection of books
- Good lighting
- Lots of books on a variety of topics, written for different age levels
Nice-to-haves:
- A home library (a girl can dream!)
- An e-reader for reading ebooks. Ebooks can be a lifesaver for hard-to-find books or when you have a sudden need to read a book and you don’t have time to buy it or go to the library. (This is the e-reader we use).
Writing
Must haves:
- Lots of paper
- Notebooks
- A laptop or computer with a good printer
- Good pencils and pens
- A good pencil sharpener
- Erasers and/or whiteout
- Printing exercise books for the younger kids
- A hard surface to write on (could be a table, a lap desk, or even just a hardcover book).
Nice-to-haves:
- Physical dictionary and thesaurus (though the online versions serve us quite well too)
- Writing guides
- Desks
- Good lighting
Instructional teaching time
Must-haves:
- Note-taking apparatus
Nice-to-haves:
- Dry erase board, white board paper, or chalk board
- Educational posters/maps/charts
- Flip chart paper and markers
- Large roll of paper
- A way of projecting or displaying Powerpoint slides or other presentation materials (casting to a TV from a laptop works well)
Math
Must-haves:
- Paper
- Pencils
- Erasers
- Calculators
- Math books
- Hard surface
- Computer for older kids
Nice-to-haves:
- Math games
- Manipulatives
- Tinker trays for preschooler
- Flashcards
- Digital scale
Arts and Crafts
Must-haves:
- A surface on which to do art (floor, table, counter. In one daughter’s case, her skin…)
- Sketchbooks and/or drawing paper
- Paint (acrylic, tempera, and watercolor)
- Paintbrushes
- Drawing pencils (sharpener, erasers, etcetera.)
- Markers (different sizes and levels of washability)
- Colored pencils
- Glue
- Glue gun
- Scissors
Nice-to-haves (this list could get really long; these are just a few ideas):
- Felt
- Popsicle sticks
- Pipe cleaners
- Construction paper
- Recycled materials
- Modeling clay
- Sequins
Hands-On Activities
Must-haves:
- I typically buy a hands-on history box from Sonlight each year, which comes with all the necessary materials. Other than that, we do not keep special supplies on hand for hands-on activities. Rather, we make a list on the weekend of what we will need for the upcoming week and go to Michael’s or the Dollar Store to get exactly what we need.
Music Practice
Must-haves:
- The instruments our kids are learning. These currently include piano and guitar.
- Music books.
- A computer with music editing software for the songs they write.
Nice-to-haves:
- A tablet or laptop for piano app tutorials and/or online piano lessons with their instructors.
Science Experiments
Must-haves:
- Again, I buy a kit from Sonlight or BookShark that has mostly everything we need for our experiments. Some items we do have to keep on hand are:
- Glue
- Food coloring
- Cornstarch
- Tin foil
- Magnets
- Cardboard
- Tape (Scotch, electrical, duct, masking, packing)
- Card stock
- Paper towel tubes
- Screwdrivers
- Basic tools
Nice-to-haves:
- Microscope
- Magnifying glass
- Science games
- Basic chem lab equipment
Cooking and Baking
Must-haves:
- We don’t keep anything special on hand other than what we normally have in our kitchen. Our older girls are really into experimenting with baking now, but they are also old enough to walk to the store on their own, so they usually just pick up whatever they need on the day of.
Watching videos or DVDs
Must-haves:
- A screen of some sort on which to watch educational videos (could be a phone, tablet, laptop, computer, or TV).
Nice-to-haves:
- DVD player
Listening to music
Must-haves:
- At least one device on which to listen to music. For us, that’s usually a cell phone.
Nice-to-haves:
- Devices that play other music formats, such as CD, cassette, and record players.
Playing
Must-haves:
- Lego and Duplo
- Play food
- Puzzles and games
- Lots of trucks and construction toys
Nice-to-haves:
- Train tracks and trains
- Dolls
- Play Doh
- Dress up clothes
Outdoor Learning Activities for Homeschool: How to Take the Learning Outside
Homeschool room setup ideas
All right, so now that we know what your must haves are for your homeschool space, let’s start thinking about how you are going to organize that area.
Of course, not everything has to be kept in the same room. You might have a family room where you do your music practice and video watching, a kitchen for cooking, science, and art, and a living room for reading, writing, and math.
It doesn’t matter where you do each of those things. What is important is keeping the things you need close to the place where you’ll use them.
Nothing kills the momentum of a homeschool day faster than having to stop and look for the book you need, your binder, or a sharp pencil.
Go back to the chart you made earlier and, if you haven’t already, write down the best rooms in which to store those must-have items.
Knowing what you need to have and where it needs to go is the most important step you can take in getting your homeschool room organized.
Now comes the fun part. Let’s look at some inspirational ideas for how you can organize those areas to take advantage of every square inch your small space has to offer.
7 Common Decluttering and Organizing Mistakes – and How to Avoid Them
DIY Homeschool Room Ideas for Small Spaces
These DIY homeschool room ideas are organized into four categories: workspaces, storage, organization, and hacks. I’m excited to offer you not only the best tips I’ve discovered in my own homeschooling but also a few really cool ideas from some of my homeschool blogger friends.
Homeschool Workspace Ideas
Whether it’s the dining table, a desk in their bedroom, or a counter in the kitchen, most homeschoolers will eventually need a place to sit down and do their work. Here are some creative ideas for using the small spaces in your home as homeschool workstations.
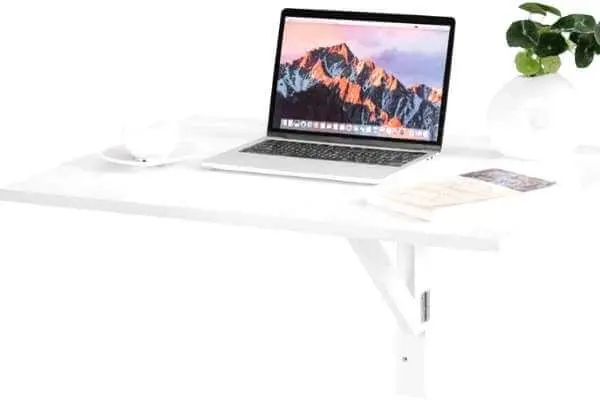
1. Dropdown desk
I love this dropdown desk idea from The Unexpected Homeschooler. It reminds me of the table my dad had on his fishing boat when I was a kid.
He would pull it down and we would lay out our charts while we were traveling. At night, we’d use it to play Gin Rummy. If it works for the cramped quarters of a fishing boat’s cabin, it can definitely work in a small homeschool space.
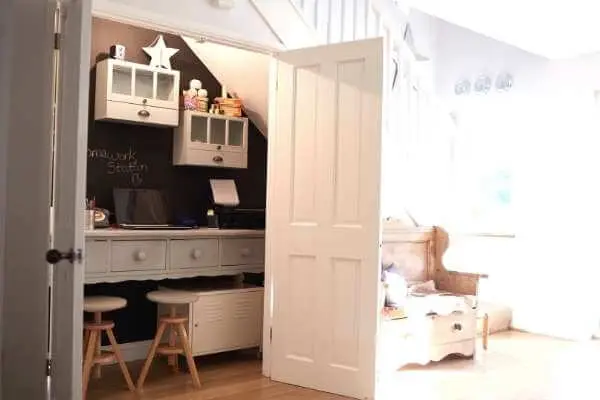
2. Convert a closet to a workstation
If you have a closet you can live without, why not jump on the latest home trend and turn it into a “cloffice” (closet-office). I love that this desk makes use of an otherwise unoccupied space. What’s even better is the doors can be shut at the end of the day to hide away the inevitable build up of books and papers.
3. Homeschooling in the dining room
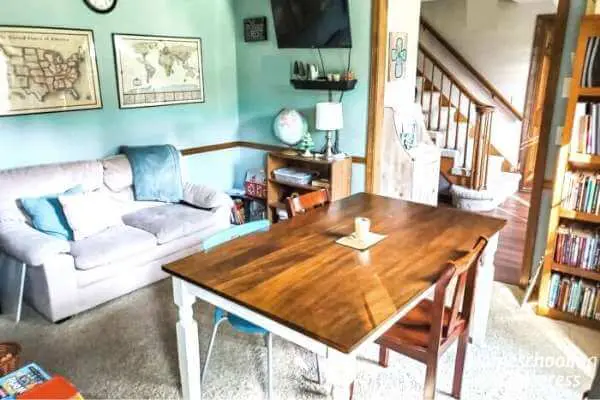
Christy at Homeschooling in Progress converted an unused dining room into her family’s homeschooling room, but even if you do use your dining room for, well, dining, that doesn’t mean it can’t do double duty!
A dining table makes a perfectly good workstation for one or more children and it’s a great place to lay out lots of resources at once. It’s also perfect for art projects and hands-on activities.
4. Homeschool workstation in the kitchen
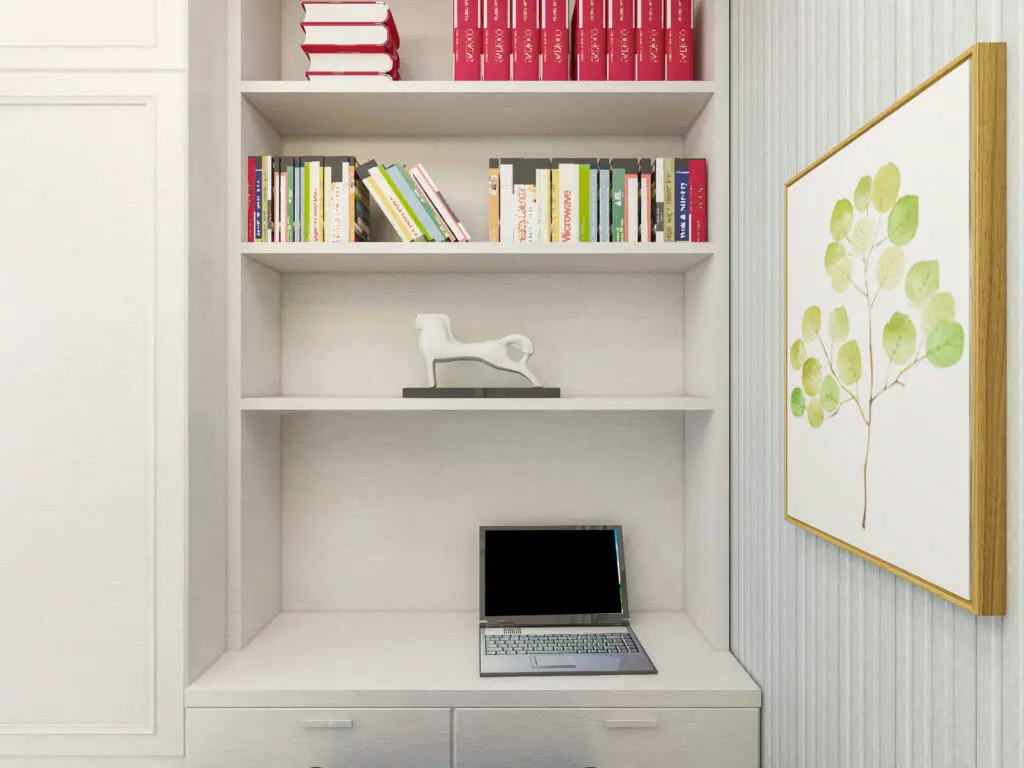
Another option is turning an unused corner of your kitchen into a small workstation. Adding a built-in desk makes great use of space and helps kids stay close to where the action is while they do their schoolwork.
5. Homeschool desks in kids’ bedrooms
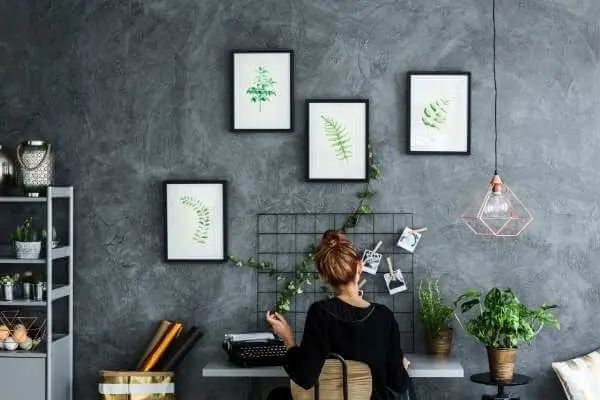
As kids progress into upper elementary and middle school, they will likely enjoy having a quiet workstation in their bedroom where they can complete assignments away from the typical hustle and bustle of the homeschool.
Ironically, although our kids have desks in their rooms, I often walk in to find them sprawled across their beds surrounded by math worksheets, the desk completely untouched.
But hey, it doesn’t really matter to me where the learning takes place, as long as we’re moving toward our goals.
6. Reading and studying in their parents’ bed
My younger kids and I have a standing date at 8:45 four mornings a week. At that time, after I’ve put in a few hours of work, gone for a walk, and brewed some coffee, the three of us gather on my bed for our morning time.
We turn on the gas fireplace because it’s always chilly in there, pull up the covers, and work our way through a stack of books. I print out coloring sheets that they work on while I read to them and then we do a couple of activities from Story of the World.
There’s nothing that incentivizes me to get through the chores of the morning like knowing I get to have this special time with my littles.

7. In their forts
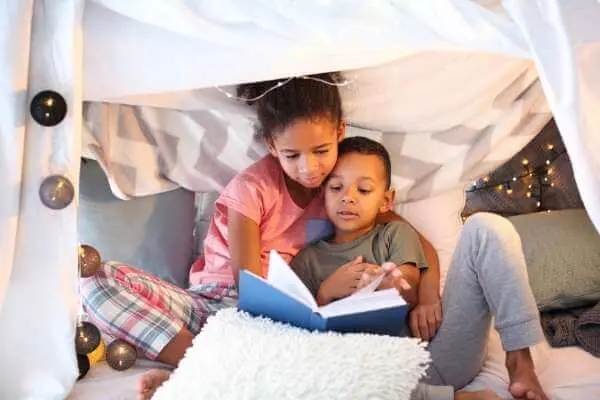
Sometimes, after my kids are done reading with me, they make a fort between the bottom and top bunks in one of the bedrooms. They hang blankets all around it, make a little “home” inside, and read to each other in there.
It’s a nonconventional homeschool workspace, but it has the duel benefits of getting them reading and strengthening their relationships. I love it!
Homeschool Storage Ideas
8. Under desk storage
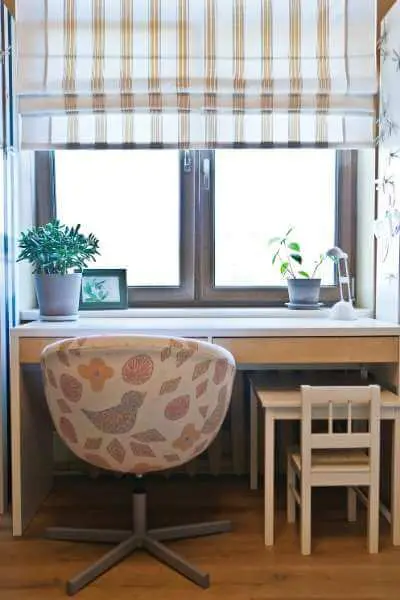
One overlooked storage place is the extra room underneath a desk. This is a great place for a mini filing cabinet, a rolling cart, or even another desk.
I love how this desk in a kid’s bedroom has another little mini table underneath it for siblings to pull out and do their work at. What a great use of space!
9. Wall storage
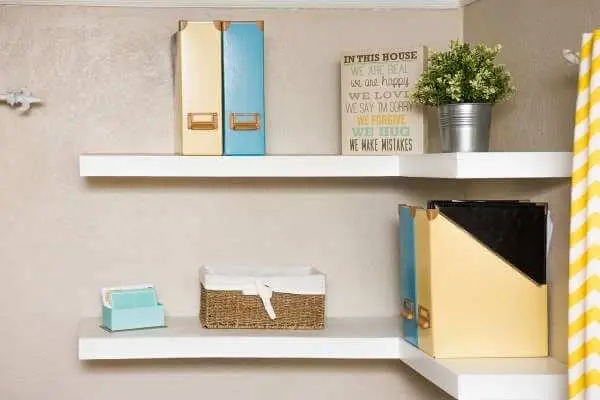
One of my favorite tricks is to make use of all the space I have available, and that includes vertical space. If you have a desk, chair, or low shelf against a wall, why not add some floating shelves on the wall above it and take full advantage of your whole space?
10. Use a variety of bookshelf types
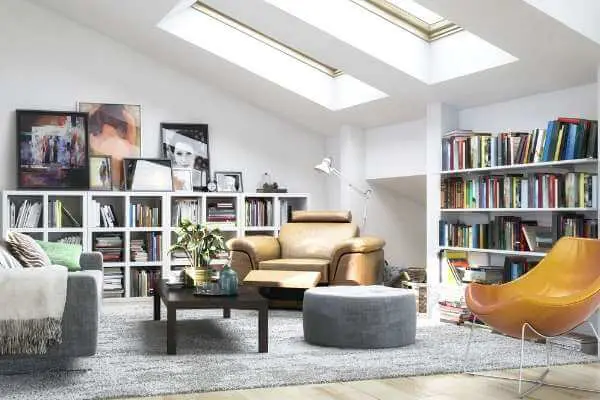
When people come over to my house, they often say they never see the exact same collection of furniture twice. This is because we’re always moving things around, buying and selling stuff on Craigslist and Facebook Marketplace, adapting our space to fit our ever-changing needs.
We’ve gone through custom shelving units that take up an entire wall of a room, Ikea shelving, wooden crates on the wall, floating shelves, you name it. And I don’t think this revolving door of furniture is just about us changing our minds a lot.
Your homeschool storage needs will change a lot as your kids get older and your family grows. For example, we had a five-and-a-half year gap between our second and third daughters, so as our third daughter moved into preschool and kindergarten, our storage needs differed a lot from what we were used to.
Look for used book shelves and other storage units at thrift stores, yard sales, and online. Don’t buy them if you don’t need them, but be creative about how you can combine different types of shelves to suit your unique homeschool storage needs.
11. Rolling carts
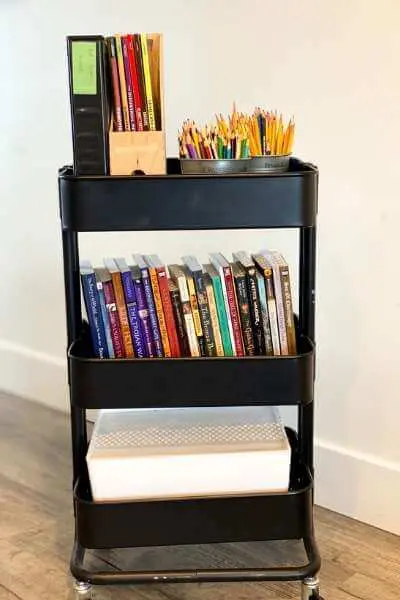
Rolling carts have become ubiquitous in homeschool rooms, and for good reason. They’re versatile, practical, and mobile. Fill them up with books, art supplies, or anything else you need to have close at hand during your homeschool day.
Pull them out when you need them, tuck them away when you don’t. I love how they can fit into a coat closet or under a table or counter when not in use. In fact, they’re so useful, I wish I had one in every room of my house, not just the homeschooling room.
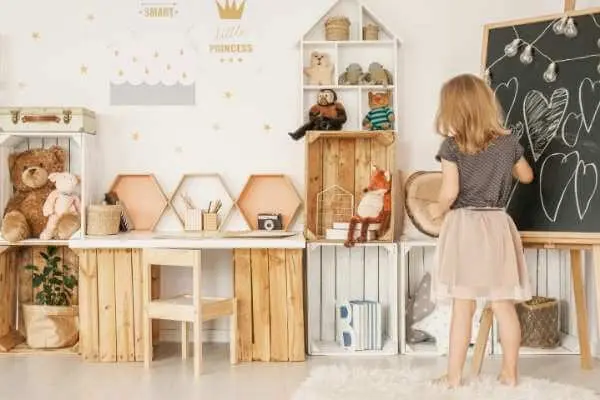
12. Wooden Crates
Wooden crates are certainly not a new idea. They’ve been used to store and transport things since as early as the 10th century.
But perhaps their introduction to homeschool rooms is a little more recent. Ever since Ikea started fastening assorted wooden crates to the walls of their cafeterias several years ago, these useful storage boxes have been popping up in homeschooling spaces everywhere.
Wooden crates are awesome because they can be used upright (like a toy box) or on their side (like a bookshelf). They can also be used vertically or horizontally, depending on the sizes of the items you want to store.
They can sit on a floor or table, or be mounted to the walls. Plus, they look really cool when you stack them on top of each other.
13. Drawers and cupboards
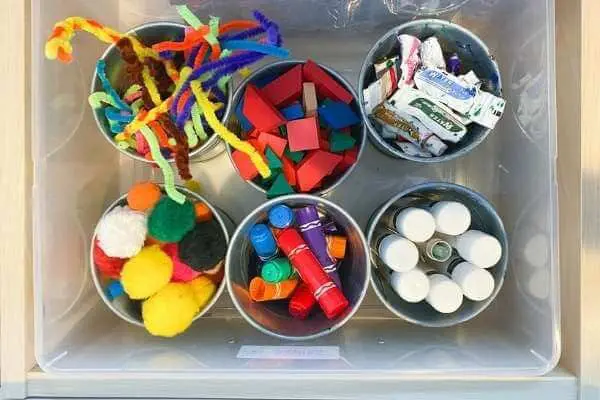
This might seem obvious, but one of the easiest places to store your homeschool materials, supplies, and curriculum is in your home’s existing cupboards and drawers.
We usually dedicate about one quarter of our kitchen’s storage space to art and school supplies. In our current home, this amounts to seven drawers and one large cupboard.
There we keep our math manipulatives and flash cards, art and craft supplies, calculators, paper cutter, papers, three-hole punch, puzzles, games, science equipment, and binders.
Having them in the kitchen makes them readily accessible but also keeps the space looking decluttered.
Homeschool Organization Ideas
14. Buy less and purge relentlessly
One of the key success factors in having an organized homeschool is having less stuff to organize in the first place. At the beginning of your homeschool journey, you might feel like you want all the stuff. You might go crazy at curriculum sales or welcome with open arms that cast-off box of ten-year-old curriculum from a well meaning friend.
But once you’ve accumulated several years worth of stuff, you’ll need to be a lot pickier. (The sooner you can get pickier, the better). You need to be really critical about every resource you bring into your home and pass it on as soon as it’s served its purpose.
Alexis at Most Important Work recommends utilizing your library and educational apps and websites as much as possible to avoid clutter.

15. Rotate books and resources throughout the year
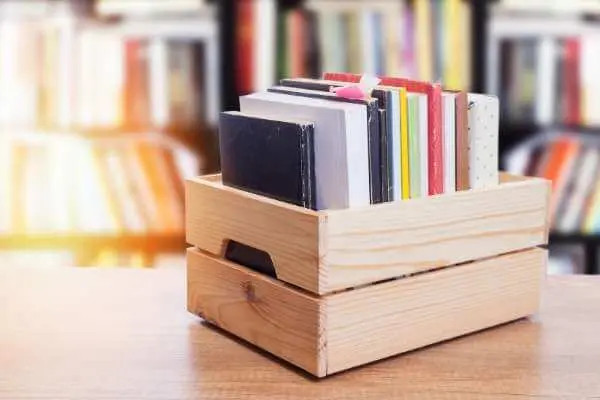
Sometimes less really is more. If your bookshelves are cluttered, reducing the number of books you keep out at any given time is an immediate solution.
Just grab a large box or tote and put away all of the books you aren’t currently using. I usually keep out the schoolbooks we need for the term, plus any seasonal books and about ten to twenty “for fun” books per kid. The other eighty percent of out books stay in totes in our crawl space until their turn comes up.
Whenever I haul out “new” books, it’s like Christmas morning all over again.
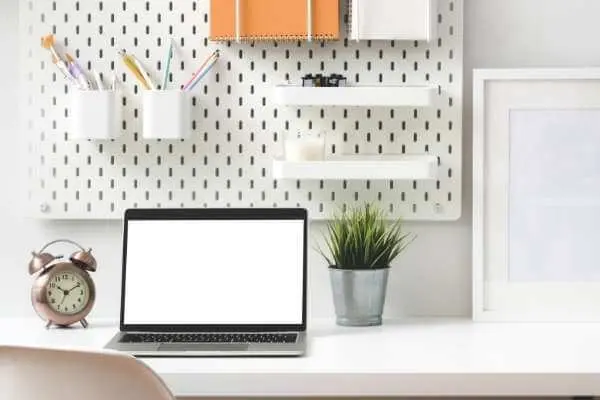
16. Pegboards
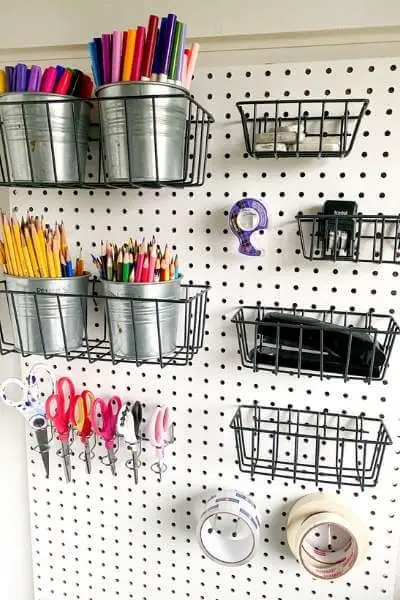
We recently developed a fondness for pegboards in our house and they’ve started springing up on every blank wall.
Ikea was sold out of their cute version when my obsession kicked in, so I’ve just been buying the large 4’x8′ sheets at the hardware store and having them cut them down to 4’x2′ boards. Every workstation in our house now has a pegboard next to it and we’re in the process of installing a huge one in our garage.
I love pegboards because they’re so versatile. You can use hooks, baskets, buckets, shelves, frames, or really anything your imagination can come up with. Just Google pegboard inspiration and you’ll see what I mean!
In our homeschool room, we use the pegboard to store the supplies we need most often: permanent and regular markers, pencils and colored pencils, tape, stapler, date stamp, laptop chargers, and scissors. Since I implemented this system, I’ve found that all of my kids–even my preschooler–are about a thousand times better at returning these things to their places after they’ve used them.
17. Storing completed work
Another challenge homeschool parents face is what to do with all that completed artwork and schoolwork. Having a system for keeping on top of these things is essential to keeping your small homeschool space organized.
Read my complete guide to kids’ art storage if this is an area you struggle in.
Cool Hacks for Your Homeschool Room Area
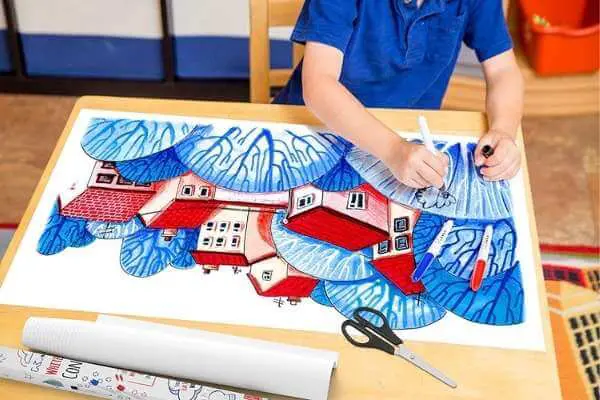
18. Whiteboard paper
Whiteboard paper is another multi-use tool. You can stick it on flat surfaces and use it for drawing, writing, or math, or you can stick it on the wall and use it for lists, lessons, or schedules.
You can buy a whole roll of it and cut off pieces in the lengths that suit your space. It’s also reusable, so you can take it off the wall and reattach it elsewhere with no issues at all.
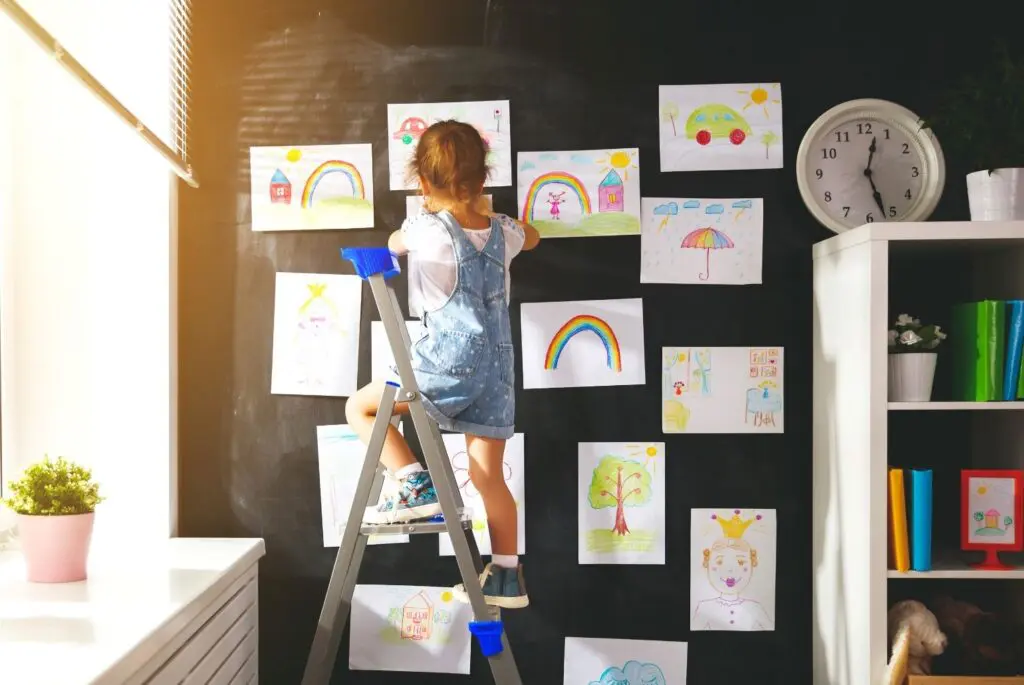
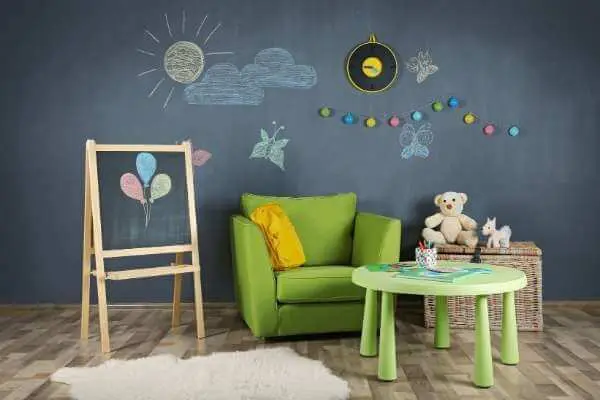
19. Chalkboard wall
Like whiteboard paper, a chalkboard wall is a versatile tool that requires no space at all. Just pick any wall in your homeschool room (kitchen, living, family, or dining room) or in your kid’s bedrooms and paint it with chalkboard paint. Then let their imaginations run wild.
Again, you can use this for lessons, art, problem-solving, unit studies, timelines, or anything else that you want to have a visual reminder of during your homeschool day.
20. See life as your classroom
One of the best things about homeschooling is that learning is not confined to a classroom. While it’s great to have everything you need organized in various parts of your house, it’s also important to remember that every aspect of your day is an opportunity for learning, and the emphasis shouldn’t be on the space in which you learn.
Christine at This Homeschool House offers some great tips on rethinking the idea of your homeschooling space as a classroom.

I hope that these ideas have inspired you to try some new things to make your home learning space even more special and functional.
Leave a comment below and let me know of these ideas you enjoyed the most and don’t forget to save this post to Facebook or Pinterest so you can find it later.

Sophie Agbonkhese is a writer, homeschooling mother of four, and a recovering overachiever (who occasionally relapses). She is the founder of My Cup Runs Over, a site dedicated to helping busy women simplify and enrich their lives. When she’s not writing or debugging websites, Sophie spends her time reading, dancing, bullet journaling, reading, gardening, listening to audiobooks, and striving fruitlessly to have a clean house for at least five minutes.

